Setup
Hardware
Raspberry Pi Zero W
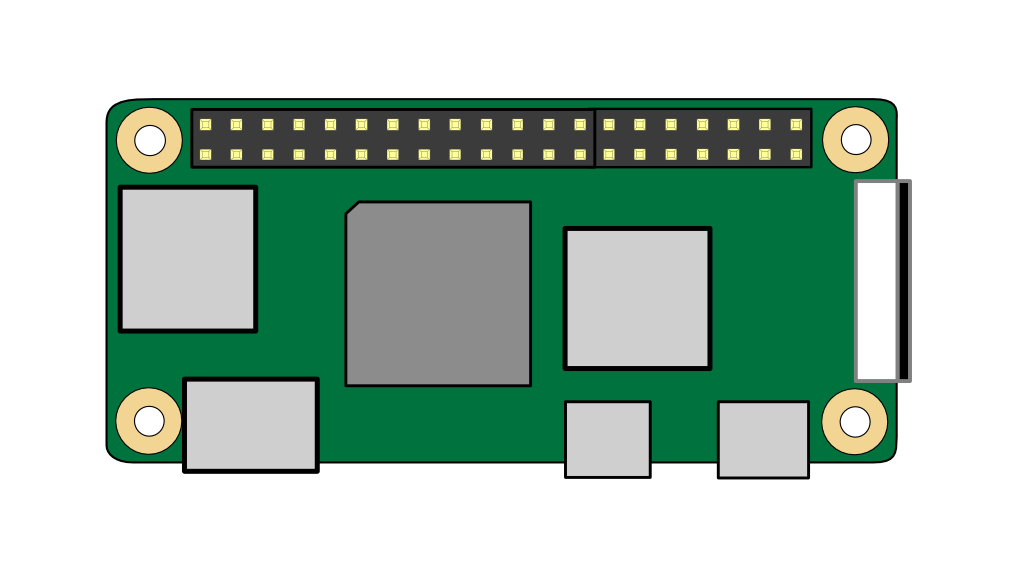
- Raspberry Pi zero W x 1
- Micro SD card x 1
- OTG Micro USB B to USB A Female adapter x 1
- Micro USB B Male to USB A Male cable x 1
- BT mice/keyboard or USB mice/keyboard as input
- Power Supply
Raspberry Pi 4 B
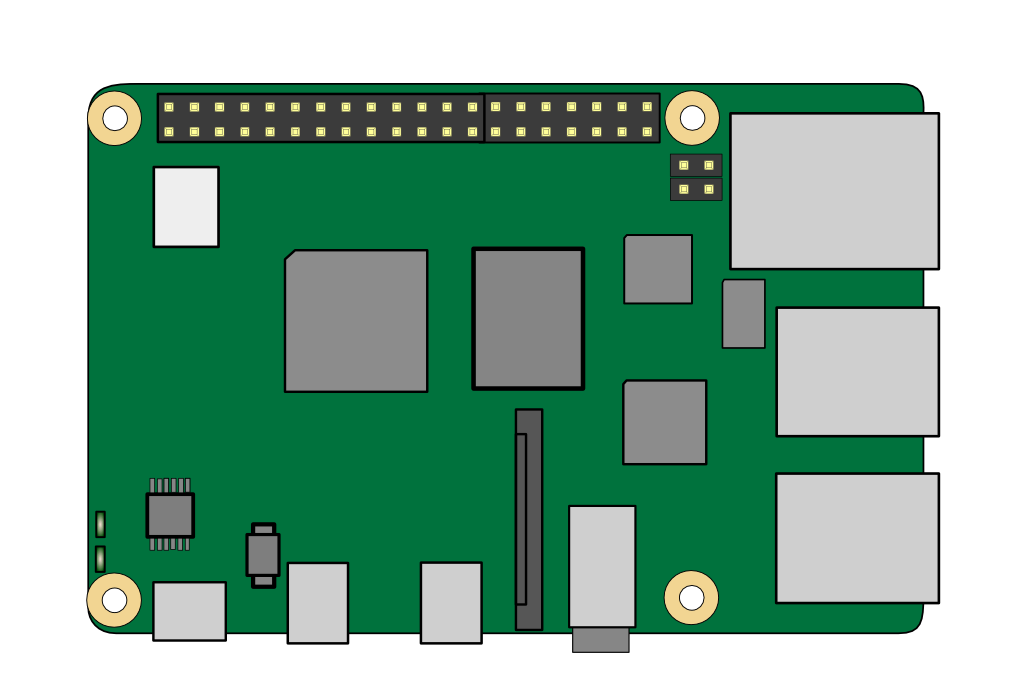
- Raspberry Pi 4 B x 1
- Micro SD card x 1
- USB C Male to USB C Female Data and Power Splitter x 1
- USB C Male to USB A Male cable x 1
- BT mice/keyboard or USB mice/keyboard as input
- Power Supply
Raspberry Pi 400
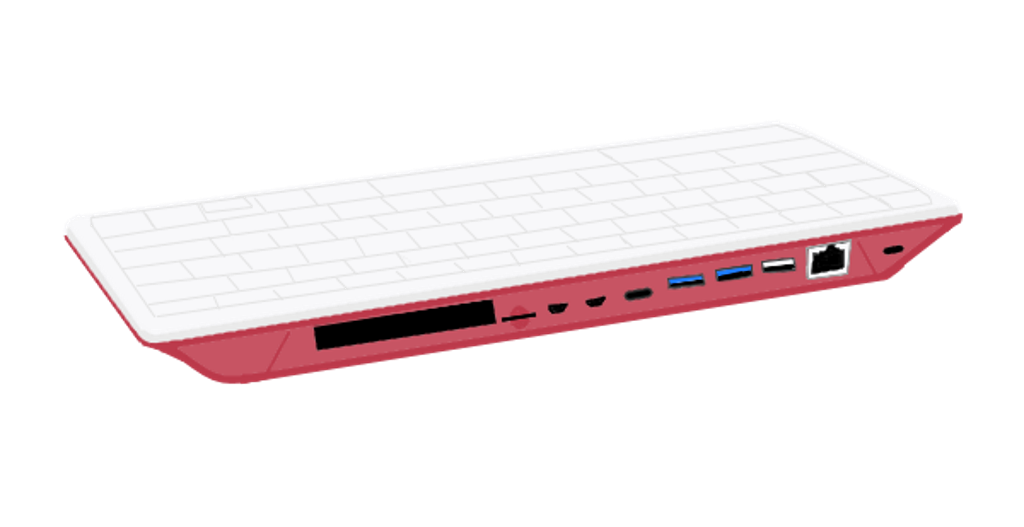
- Raspberry Pi 400 x 1
- Micro SD card x 1
- USB C Male to USB C Female Data and Power Splitter x 1
- USB C Male to USB A Male cable x 1
- BT mice/keyboard or USB mice/keyboard as input
- Power Supply
Software
- Download and install Raspberry Pi Imager in your computer.
- Insert the MicroSD Card into SD Card reader slot of your computer.
- Download the latest version of BlueStick OS
- Uncompress the BlueStick.zip file
- Run Raspberry Pi Imager software
- Click on the CHOOSE STORAGE button and select your SD Card drive.
- Click on the CHOOSE OS button and select Use Custom.
- Select uncompressed BlueStick.zip file (BlueStick.img)
- Click on the settings button with a gear icon if you would like to customize your device.
- Click on the SAVE button
- Click on the WRITE button and wait for it to write the image to the SD Card.
- You will get a dialog box titled Write Successful Once the verification process is complete.
- Click on the CONTINUE button.
- Remove MicroSD Card and insert it in the SD Card reader slot of your Raspberry Pi.
Setup
RaspberryPi Zero W
- Connect the (Micro USB B Male to USB A Male) cable to (Micro USB B) data port on RaspberryPi Zero W.
- Connect RaspberryPi Zero W to your host device via (Micro USB B Male to USB A Male) cable.
- Insert the flashed micro SD card with the latest version of BlueStick OS into micro SD card slot.
- Connect power supply through (Micro USB B) port and power RaspberryPi Zero W.
RaspberryPi 4 B or RaspberryPi 400
- Connect the (USB C Male to USB C Female Data and Power Splitter) cable to the (USB C Female) port of RaspberryPi 4 B or RaspberryPi 400.
- Connect the (USB C Male to USB A Male) cable to the (USB C Female) data port of (USB C Male to USB C Female Data and Power Splitter) cable.
- Insert the flashed micro SD card with the latest version of BlueStick OS into micro SD card slot.
- Connect power supply to the (USB C Female) power port of (USB C Data and Power Splitter) cable.
- Connect the other end of (USB C Male to USB A Male) cable to the (USB A Female) port of your host device.
Configuration
Initial Configuration
- Power your Raspberry Pi
- Connect keyboard/mice and HDMI cable to your Raspberry Pi for first time setup.
- Login to your Raspberry Pi
- Username: player Password: bluestick
- Plug USB keyboard/mouse input.
- Pair BT keyboard/mouse inputs using RaspberryPi GUI taskbar.
- Click on Bluetooth button icon on top right of RaspberryPi GUI taskbar.
- Click on Add Device
- Select your BT keyboard/mouse and Click on Pair button.
- Click on RaspberryPi button icon on top left of RaspberryPi GUI taskbar.
- Click on Logout option.
- Click on Reboot option.
- Wait 30 to 60 seconds for it to initialize.
- You should be able to use your keyboard/mouse as joystick at this point.
Update Configuration
- Power your Raspberry Pi
- Login to your Raspberry Pi
- Open Command line or terminal
- Enter following command cd /usr/local/etc/BlueStick/install to enter install directory.
- Enter following command sh ./install.sh [arg : 8b,16b,32b,ns,ps,xac] to change configuration to regular gamepad or MayFlash gamepad.
Usage
- Power your bluetooth enabled input device (Keyboard/mice)
- Power your Raspberry Pi
- Wait 30 to 60 seconds for it to initialize.
- You should be able to use your keyboard/mouse as joystick at this point.